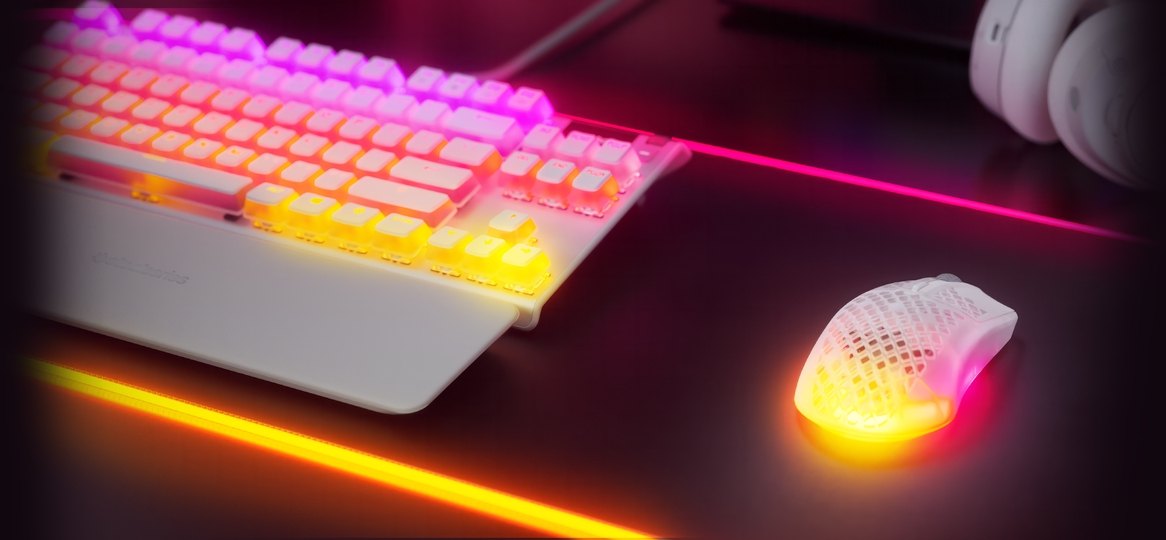
With SteelSeries Engine, users can effortlessly customize each key and function to suit their unique play style. This app includes keypress macros, text macros, multiple device management (such as managing a keyboard, mouse, and headset), and KLM. However, if it is not configured properly, it can result in many problems, such as SteelSeries GG Not Opening or not working properly, etc. This software suite is the best on the market, and this tutorial will walk you through the process of configuring different peripherals and activating different features and applications.
How to Use SteelSeries Engine
The software package known as SteelSeries Engine is in charge of overseeing all linked SteelSeries accessories, including headsets, keyboards, and mice. Here’s how to use it right away.
1. Installation
You will need to install SteelSeries Engine on your PC before you can begin using it. All that is needed for this is a download from the SteelSeries website, which is simple. Click the following link to get the executable file.
Launch the executable file that you downloaded and follow the installation wizard’s instructions. After it is finished, the suite will start up and identify any SteelSeries devices that are linked to the computer. Additionally, Windows will launch by default. Upon initiating the software, the dashboard will appear (“My Gear” tab). Every SteelSeries product you are now connecting to or have previously connected to is listed in this section.
The three icons on the upper right corner of the screen are in charge of setting up or logging you into a SteelSeries account, giving you access to SteelSeries Engine settings, and alerting you to any upgrades or problems with the aforementioned hardware. In simple terms, engine apps are plugins that give attached hardware optional features. All you have to do is toggle the on/off button to start an Engine app. You may access the configuration screen for each app by clicking on it; this screen differs depending on the app.
Setting up a mouse
One of the two most crucial accessories for any PC player is the pointer. Purchasing a SteelSeries mouse such as the Rival 700 will provide you access to a plethora of customization choices. When the mouse is selected from the My Gear window, a secondary window containing numerous buttons and menus opens.
Profiles and Configuration
Onboard setups and profiles are located on the left. The first option is perfect for using the device on numerous PCs as it covers profiles and settings that have been saved using mouse memory. When you highlight a profile, some default options will appear. Although loaded on the current PC, the configurations are the same. To replace them, drag these up to the mouse profiles. Pressing the “New” button on the panel will create new settings.
Mouse options
All of the programmable buttons on the mouse, including the scroll wheel, are represented by the list of buttons on the left. By selecting each one, you can control the following:
● Action or key binding.
● Turn on or off tactile feedback.
● Configure macro settings.
It is a complex system with a lot of customizing options. Using this will only be necessary for specific scenarios, such as general use and gaming, when you have select buttons set up for specific functions in Windows or programs.
Lastly, the polling rates, sensitivity, acceleration, and angle snapping are located on the right panel.
This is where you should spend the few minutes you have free to adjust your mouse. Finally, you may adjust the scroll wheel and logo lighting effects here. However, if you are using PrismSync, this feature will not work. If you have a SteelSeries mouse with a small screen, you can also choose the OLED management option.
Setting up a keyboard
Whether you are a passionate PC player or a typist who spends long hours in front of a computer, you must make sure everything is set up correctly for your SteelSeries keyboard. Similar to the mouse, setting up everything in SteelSeries Engine is quite simple.
Configs
The suite lets you configure the connected keyboard and add more settings, just like it does with a mouse in SteelSeries Engine. In simple terms, these are profiles that store your preferences and let you choose between them. Here, you have a few simple options: duplication, deletion, and editing.
Keyboard options
The top of the screen is divided into three tabs that control what the settings, lighting, and key bindings look like. Key bindings are the first feature that lets you remap all of the keyboard’s keys. This comes in useful for games where you might wish to switch out the keys for easier access. By clicking the button at the top of the key list, you may access SteelSeries‘ specialized macro manager. This is the area where macros can be saved or deleted.
The only people who should control illumination are those who love having an interactive light show at their fingertips. Illumination enables possibilities for RGB lighting, if available. There are a few settings here that you can experiment with while not using PrismSync. Before saving effects, there is a live preview available. Last but not least, the settings tab contains the engine app color, polling rate, illumination (brightness) level, and region settings.
Setting up other devices
The selection may be limited when it comes to other SteelSeries accessories like mouse pads and headsets. If you use PrismSync, configuring a QcK will simply let you manage zones and choose colors; an Arctis 5 headset, on the other hand, will provide you options for dynamic range compression, equalization, and light effects.

