Installing the SJCAM M60 Dash Cam in different car models is designed to be straightforward and user-friendly. Here’s a detailed look at how easy it is to set up this dash cam, along with some tips and considerations for various vehicle types.
Overview of the SJCAM M60 Dash Cam
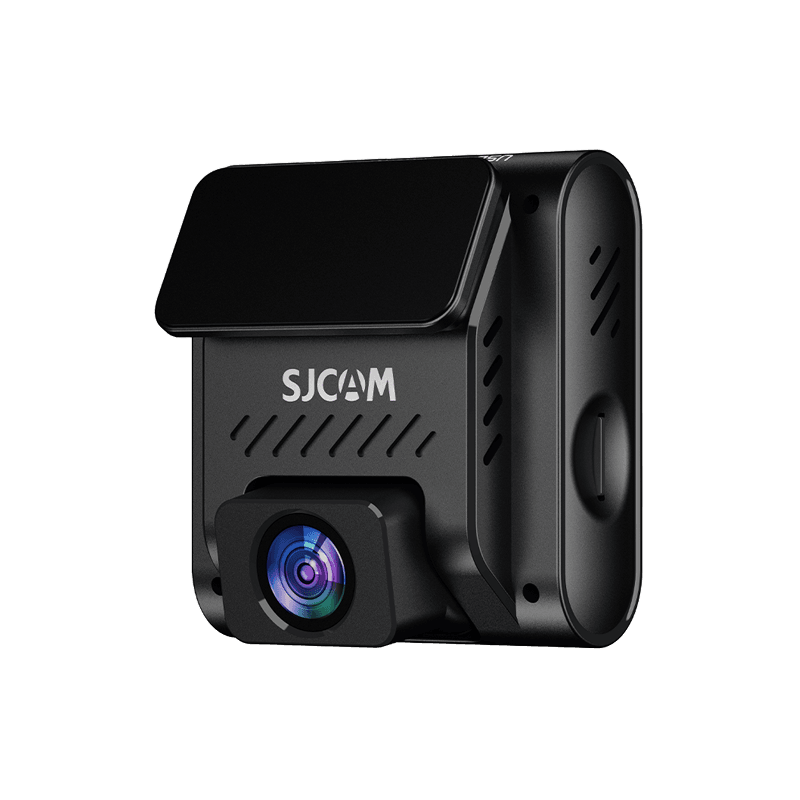
The SJCAM M60 is a premium dash camera that offers impressive features, including:
- 4K Video Recording: Captures high-definition footage at 30 frames per second.
- 170° Wide Field of View: Ensures comprehensive coverage of the road.
- GPS Location Tracking: Records speed and location data.
- Loop Recording: Automatically overwrites old footage to save storage space.
- Collision Detection: Uses a G-sensor to save recordings during impacts.
- Easy Installation: Designed for quick and simple setup.
Installation Process
1. Unboxing and Preparation
When you first receive your SJCAM M60 Dash Cam, unbox it and ensure all components are included, such as the camera unit, mounting bracket, adhesive pad, power cable, and user manual. Familiarize yourself with the parts and read the instructions for specific installation tips.
2. Choosing the Mounting Location
The ideal location for mounting your dash cam is typically behind the rearview mirror, where it won’t obstruct your view. This position provides an unobstructed view of the road ahead while keeping the camera discreet.
3. Attaching the Mount
- Clean the Surface: Before attaching the mount, clean the windshield area with a glass cleaner to ensure a secure bond.
- Use the Adhesive Pad: The SJCAM M60 comes with an adhesive pad for mounting. Peel off the backing and press it firmly against the windshield. Hold it in place for a few seconds to ensure it adheres well.
- Attach the Camera: Once the mount is secure, attach the SJCAM M60 camera to the bracket. Make sure it’s aligned correctly to capture the road ahead.
4. Connecting the Power Supply
- Power Cable: Connect the provided power cable to the dash cam. The SJCAM M60 typically uses a standard USB connection, making it compatible with most car chargers.
- Route the Cable: Neatly route the power cable along the edges of the windshield and down to the car’s power outlet. Many drivers tuck the cable into the trim or use cable clips to keep it out of sight and prevent it from interfering with visibility.
5. Testing the Setup
Once everything is connected, start your vehicle to power on the dash cam. Check the video feed to ensure the camera is capturing the desired view. Adjust the angle if necessary, and ensure that the camera is securely mounted.
Compatibility with Different Car Models
The SJCAM M60 is designed to be versatile and compatible with various car models. Here are some considerations for different types of vehicles:
Sedans and Hatchbacks
For sedans and hatchbacks, the installation process is straightforward. The compact design of the SJCAM M60 allows it to fit seamlessly behind the rearview mirror without obstructing the driver’s view. Most sedans have ample space for routing the power cable, making installation quick and easy.
SUVs and Trucks
In SUVs and trucks, the installation is similar, but you may need to adjust the mounting height to ensure the camera captures the road effectively. The wider windshield in these vehicles provides more flexibility for positioning. Ensure that the camera is mounted securely to avoid vibrations that could affect video quality.
Sports Cars
For sports cars with a more compact interior, the SJCAM M60 can still be installed effectively. However, be mindful of the angle at which you mount the camera to ensure it captures the road clearly. The sleek design of the camera complements the aesthetic of sports cars, and its small size means it won’t detract from the car’s interior.
Older Vehicles
Older vehicles may have different types of windshields or mounting surfaces. The adhesive pad provided with the SJCAM M60 is designed to adhere well to most surfaces, but if you encounter any issues, consider using additional mounting options such as suction cups or alternative adhesive mounts.
Additional Tips for Installation
- Check Local Laws: Before installing a dash cam, check local laws regarding the placement of cameras on windshields. Some regions have restrictions on how far down the windshield a device can be mounted.
- Regular Maintenance: Periodically check the mount and camera to ensure they remain secure. Extreme temperatures or vibrations from driving can affect the adhesive over time.
- Firmware Updates: Keep the firmware of your SJCAM M60 updated to ensure optimal performance and access to the latest features.
Conclusion
Installing the SJCAM M60 Dash Cam is a simple and straightforward process that can be completed in a matter of minutes, regardless of your vehicle type. Its user-friendly design, combined with versatile mounting options, makes it an excellent choice for drivers looking to enhance their safety and security on the road. By following the installation steps and considering the specific needs of your vehicle, you can ensure that your dash cam is set up correctly and ready to capture every moment of your driving experience. With the SJCAM M60, you not only gain a reliable witness in case of incidents, but also the peace of mind that comes with knowing you have taken an important step in protecting yourself and your vehicle.